How to Remove or Replace a Photo Background With AI
You have a good photo of a person, product, pet, or object, but the room behind it is distracting. You may need a transparent cutout for a presentation, a plain background for a listing, or a cleaner scene for a social post.
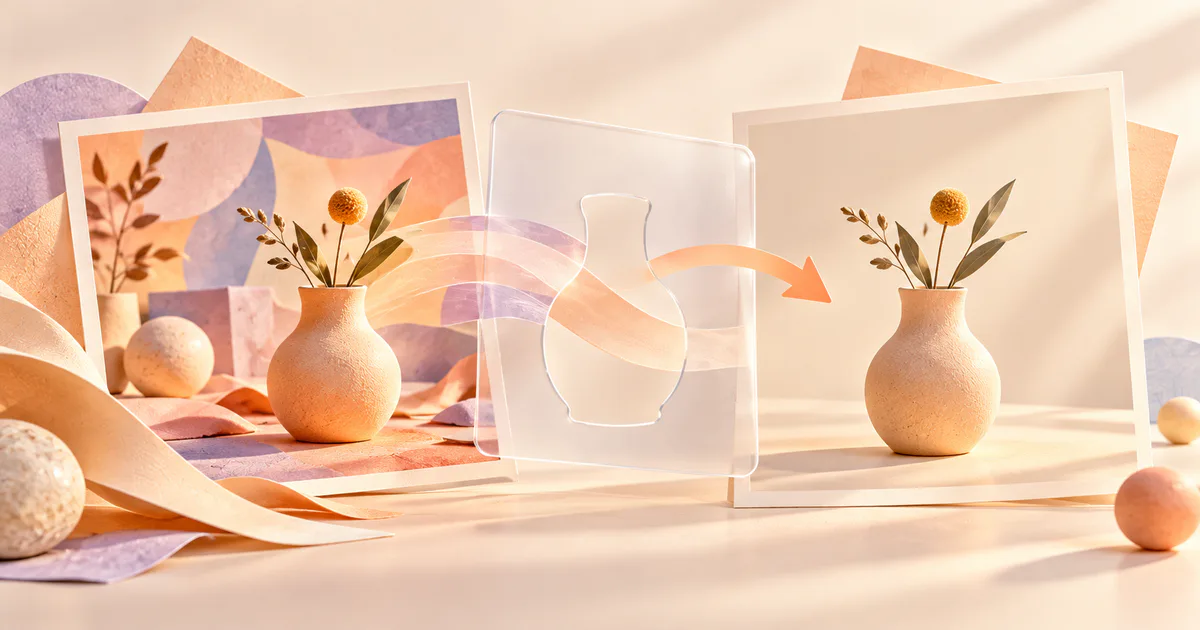
Clean the cutout before adding a new scene: run the photo through an automatic background remover, zoom in and repair the edges, then export it as a transparent PNG. If you want a new scene instead, add the replacement only after the cutout is clean and check that its light, shadow, and perspective match the subject.
The automatic result is a first draft. Hair, glass, chair legs, plant leaves, shadows, and pale objects against pale walls are where the final quality is usually won or lost.
Decide what you actually need
Choose one result before you open a tool:
- Transparent background: best when the subject will be placed in another design later.
- Solid-color background: useful for a profile image, simple product card, or presentation.
- New realistic background: useful when the setting matters, but it requires the most checking.
- Less distracting original: sometimes a light blur or crop is more honest and natural than replacing the whole scene.
Do not ask for all four at once. Save a clean transparent version first so you can reuse it.
The fastest beginner workflow
- Duplicate the original photo and keep one untouched copy.
- Upload the duplicate to a background-removal tool.
- Let the tool make the first cutout.
- Zoom in to at least 100% and use erase or restore controls around problem areas.
- Export a transparent PNG before adding a new background.
- Place the cutout over its final color or scene and inspect the edges again.
Canva's current background remover automatically detects the foreground. Canva says the feature is included with paid plans, while access through its quick AI pages still requires signing in and can be limited by account or AI usage. If that route is not available to you, try the editor you already use before paying for a new subscription.
ChatGPT and Gemini can also edit an uploaded image from a written instruction. That is helpful when you want a replacement rather than a transparent cutout, but a conversational edit may change more of the photo than you intended.
Copy this replacement prompt
Replace only the background of this image.
Keep the person or object, face, pose, clothing, proportions, colors, and camera angle unchanged.
New background: [describe the setting in one sentence].
Match the original direction of light and keep a natural contact shadow beneath the subject. Do not add text, logos, extra objects, or extra people.
For example:
Replace only the background with a simple warm cream studio wall and a pale wood surface. Keep the ceramic mug, handle, printed pattern, shape, color, and camera angle unchanged. Match the soft light coming from the left and keep a natural shadow under the mug.
The preservation list matters. “Put this mug in a nicer kitchen” gives the tool permission to reinterpret almost everything.
Check the edges before downloading
Put the cutout over three temporary backgrounds: white, black, and a bright color. Different problems become visible against different colors.
Look closely at:
- hair, fur, feathers, and fuzzy fabric;
- gaps between arms, handles, chair legs, or plant stems;
- transparent or reflective objects such as glasses and bottles;
- pale edges that still contain a halo from the old wall;
- missing corners, straps, jewelry, or thin objects;
- shadows that end abruptly or float above the new surface.
Use the smallest practical restore or erase brush. A wide brush is faster but can make shoulders, hair, and round products look unnaturally cut out.
Make the new background believable
A realistic replacement needs more than a plausible room.
Match the light
If the face is lit from the left, the new room should not have a strong window on the right. Ask for the same light direction and softness.
Match the camera angle
An object photographed from above will look wrong on a table seen from eye level. State the viewpoint in the prompt.
Keep a contact shadow
Objects need a small shadow where they meet a surface. Without it, they appear to float.
Keep the background quieter than the subject
For a listing, headshot, or presentation, a detailed generated room may distract from the actual subject. Start plain and add detail only when it helps.
Choose the right export
| What you need | Best starting export | Important check |
|---|---|---|
| A reusable cutout | PNG with transparency | Open it over another color to confirm transparency |
| A finished photo with a new scene | JPG or WebP | Check quality at the final display size |
| A graphic with sharp text added later | PNG | Add the text in a normal design editor |
| A smaller website image | WebP when your editor supports it | Keep an original-quality source separately |
Do not assume that removing a background automatically creates a transparent download. Some editors show transparency in the canvas but restrict transparent export by plan. Canva's current help documentation, for example, lists transparent-background download as a paid-plan feature.
Common mistakes
Using the edited image as evidence
A replacement background changes the context. Do not use the result as proof that a person visited a place, that a product appeared in a certain setting, or that an event happened.
Uploading a private photo without checking
A family portrait, customer photo, unreleased product, ID badge, or image from a private workplace may contain information that should not leave your device. Crop or blur unnecessary details, and check the service's current privacy settings before upload.
Trusting a clean preview
A cutout can look fine when it is small and still have broken fingers, missing hair, or a pale outline at full size. Always inspect the downloaded file.
Editing someone else's image
Having access to an image is not the same as having permission to modify and republish it. Use your own photo, licensed material, or an asset you are authorized to edit.
The bottom line
Automatic background removal saves time, but the final step is still human: check the edges, preserve the original subject, and choose the right file type. Save a transparent master before creating new versions, and treat a replacement scene as an illustration rather than factual evidence.
If you need a completely new picture rather than an edited photo, start with How to Generate an Image From Text. Before uploading a portrait or client asset, review What Information Should You Never Share With AI?.
Sources and verification
Information last verified: October 12, 2026.
- Canva: Remove photo and video backgrounds
- Canva: Download a design with a transparent background
- OpenAI: Images in ChatGPT
- Google: Generate and edit images with Gemini Apps
Free printable resource
AI Visual Project Brief
Use the practical version while you work. It is a selectable-text U.S. Letter PDF with no email gate.
Public H5W PDF with selectable text and permanent source links.
Keep going
Choose your next step
Return to Create Visuals for the full collection, or continue with a closely related guide.