How to Edit a Photo With AI Without Changing Everything Else
The photo is almost right. There is one distracting object, too little space around the subject, or one color you want to change. You do not want the AI to redesign the person's face, move the furniture, or invent a different scene.
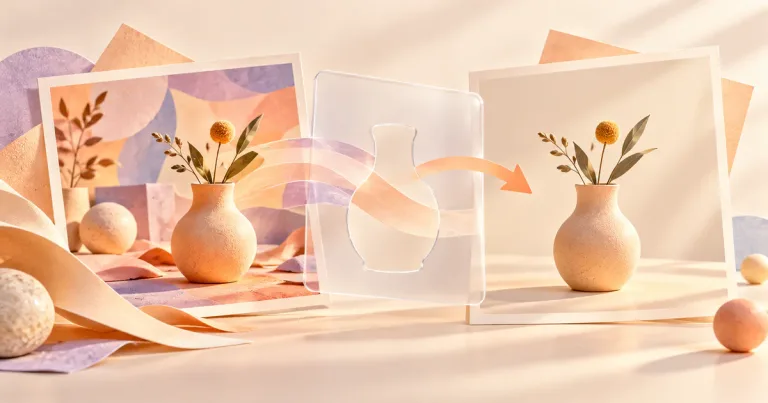
Duplicate the original, ask for one edit at a time, and name what must remain unchanged. Use a selection tool when possible, then compare the result with the original before making the next change.
AI photo editing works best as a series of small, reversible decisions. A broad request such as “make this look professional” gives the tool too much freedom.
Start with an edit boundary
Before uploading the photo, write down:
- the one thing you want changed;
- the exact area where it appears;
- the details that must stay unchanged;
- whether the edit may change factual meaning.
For example, removing a trash can from the edge of a personal vacation photo is a cosmetic edit. Removing a safety barrier from a workplace photo could misrepresent the scene. The same tool can do both, but the second result should not be presented as evidence.
Copy this focused editing prompt
Edit only [specific object or area].
Change it to [desired result].
Keep [subject, face, hands, clothing, background objects, lighting, colors, camera angle, and dimensions] unchanged.
Do not add text, logos, people, or objects. If the edit cannot be made without changing the protected details, leave the image unchanged and tell me why.
Example:
Remove only the red paper cup on the far-left edge of the table. Fill the small area naturally using the existing wood surface. Keep both people, their faces and hands, the laptop, notebooks, wall, lighting, camera angle, and image dimensions unchanged.
The location words—“far-left edge of the table”—help separate the target from similar objects.
A safe step-by-step workflow
1. Keep the original
Make a copy before uploading. Do not repeatedly overwrite the same file. An edited result may look good at first and reveal a damaged detail later.
2. Crop only if the unwanted object is disposable
If a simple crop removes the distraction without hurting the composition, cropping is more predictable than generation. Use AI only when the missing area must be rebuilt or the object overlaps something important.
3. Select the smallest useful area
OpenAI's image editor allows a user to highlight an area and describe the change. Its documentation warns that selections are not always precise and edits may extend beyond the highlighted region. Canva's Magic Eraser similarly offers brush and object-selection controls.
Leave a little context around the target, but do not select half the image for a one-inch distraction.
4. Make one change
Remove the object first. Check the result. Change the background color in a separate step. Extend the canvas in another step. This makes it much easier to identify when an unwanted change occurred.
5. Compare at full size
Place the original and edit side by side. Do not rely on memory.
Check:
- faces, eyes, teeth, fingers, jewelry, and clothing patterns;
- logos, labels, signs, clocks, screens, and printed words;
- straight lines, repeated textures, reflections, and shadows;
- the number and position of objects;
- image dimensions and crop;
- whether the edit changed the story told by the photo.
6. Save a new version
Use a filename such as photo-edit-01-remove-cup.png. A clear version history lets you return to the last good result instead of starting over.
Three edits AI can help with
Remove a small distraction
This works best when the background behind the object is simple and repeated, such as a wall, sky, grass, or tabletop.
If the object overlaps a hand, face, patterned fabric, or unique product detail, expect more repair work.
Extend the edge of an image
AI can generate extra background around a tight photo so it fits a wider or taller layout. Tell it to extend only the canvas and preserve the original pixels in the center.
Do not use generated extension to claim the camera captured something outside the original frame.
Change one visual detail
A color, surface, or decorative object can often be changed with a local selection. Describe both the new detail and the original lighting. Check that reflections and shadows update consistently.
What AI cannot honestly restore
AI can create a believable version of missing information. That is not the same as recovering what was truly there.
If a face is heavily blurred, a license plate is unreadable, or a distant sign has no legible pixels, an “enhanced” result may be invented. Do not use it for identification, reporting, insurance, legal disputes, historical records, medical interpretation, or any other factual decision.
For a family photo, label a generated reconstruction as a creative restoration when sharing it. Keep the original beside it.
People, privacy, and permission
Do not upload a private or sensitive photo simply because the edit seems harmless. Look for:
- children's faces;
- customer or patient information;
- addresses, screens, badges, and documents;
- an unreleased product or confidential workspace;
- a person who did not agree to the edit or publication.
Use an editor approved by your workplace when the image belongs to an employer or client. A Temporary Chat or a privacy setting can reduce some retention or training concerns, but it does not give you permission to upload someone else's image.
If the tool changes too much
Try these corrections in order:
- Return to the original, not the damaged edit.
- Select a smaller area.
- Shorten the requested change.
- Add a specific preservation list.
- Ask the tool to produce only one version.
- Use a normal crop, clone, or erase tool when generation is unnecessary.
The goal is not to prove that AI can perform the edit. The goal is to get a trustworthy image with the least unnecessary change.
The bottom line
Treat AI photo editing like careful patchwork: one local change, a clear boundary, and a full comparison with the original. If the result changes a person, an important object, or the meaning of the scene, discard it and try a narrower method.
For a clean cutout, continue with How to Remove or Replace a Photo Background With AI. To create a new image instead of altering a real one, use How to Generate an Image From Text.
Sources and verification
Information last verified: October 12, 2026.
- OpenAI: Images in ChatGPT
- Google: Generate and edit images with Gemini Apps
- Canva: Erase or retouch photos
- Adobe Firefly: Transform images using generative fill
Free printable resource
AI Visual Project Brief
Use the practical version while you work. It is a selectable-text U.S. Letter PDF with no email gate.
Public H5W PDF with selectable text and permanent source links.
Keep going
Choose your next step
Return to Create Visuals for the full collection, or continue with a closely related guide.