How to Resize an Image for Social Media With AI
Your square design looks good, but the portrait version cuts off a face and the wide version pushes the headline against the edge. An automatic resize can create the new canvas, but it cannot decide what the audience must see first.
Duplicate the original for each placement, choose the current target preset, and let the tool make an initial resize. Then reposition the subject and text manually, inspect every version, and export each one separately.
Do not stretch one flattened image into a new shape. Resizing works best when the photo, background, headline, and other elements are still separate and editable.
Check the destination first
Before resizing, open the place where the image will be published and confirm:
- the placement, such as feed, story, thumbnail, cover, or ad;
- the current recommended size or aspect ratio;
- whether the interface covers part of the image;
- the file types and maximum file size it accepts;
- whether the image will be cropped differently on mobile and desktop.
Platform requirements change. This guide deliberately does not give you a permanent chart of dimensions that may become outdated. Use the current preset in your design tool, then confirm it against the platform's own publishing screen or help page.
The practical workflow
1. Preserve the master
Keep one editable original. Duplicate it for every destination and name the copies clearly, such as:
workshop-squareworkshop-portraitworkshop-wide
That prevents a later resize from damaging the version you already approved.
2. Use a preset or enter the target size
Canva's current Resize tool offers suggested formats and custom dimensions. Its help documentation lists Magic Resize for paid, education, nonprofit, and team plans, and says uses can count against an AI allowance. If your account does not include it, create a new blank design at the target size and copy the editable elements across.
The manual route takes longer, but it gives you the same essential control.
3. Choose crop or extension
You have two honest options when the new canvas is a different shape:
- Crop: remove less important areas while keeping the subject intact.
- Extend: ask AI to generate additional background around the original.
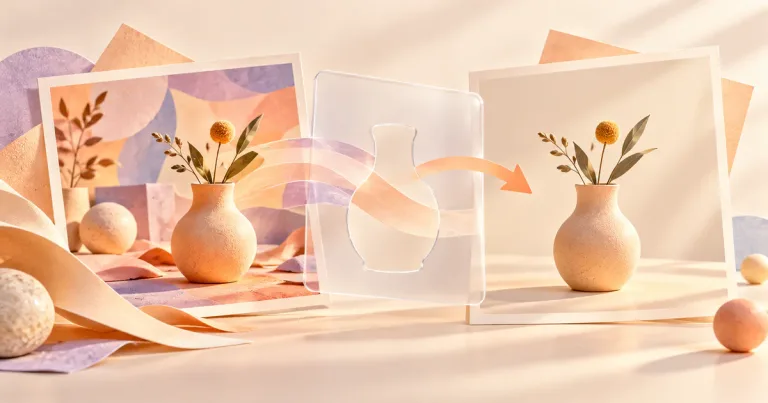
Crop first when there is enough space. Use generative extension only when the subject is too tightly framed and the new area can be treated as decorative—not as factual evidence of what the camera captured.
4. Rebuild the hierarchy
Do not simply scale every element by the same percentage. A wide design may need the image on one side and the headline on the other. A tall design may need the headline above the image.
Keep this order visible:
- main subject or headline;
- supporting detail;
- action or source;
- optional brand mark.
Delete minor decorations before shrinking the important content.
5. Check the safe area
Keep faces, logos, headlines, dates, and buttons away from the outer edge. Interface controls, rounded previews, and automatic crops can cover more than expected.
Preview the image in the actual publishing flow when possible. A clean editor canvas is not the final viewing environment.
Copy this extension prompt
When a crop cannot work, try:
Extend the background to create a [wide, square, or portrait] composition.
Preserve the original subject, face, clothing, product, colors, lighting, and original pixels unchanged.
Add only a simple continuation of [wall, sky, desk, paper texture, or other background]. Keep the new area quiet and leave space on [left, right, top, or bottom] for editable text. Do not add people, objects, logos, or words.
After the extension, place the original over the result at partial transparency. This makes shifts in the face, product, or central details easier to spot.
Fix each format separately
Square
Square layouts often need the subject closer to the center. Reduce supporting copy rather than shrinking it until it is unreadable.
Portrait
Portrait placements provide more vertical space but may still be covered by interface elements near the top and bottom. Keep the action and essential text inside a generous central area.
Wide
A centered portrait can become tiny in a wide image. Move the subject to one side and use the open side for the headline. Do not invent scenery when a simple color or texture will do.
Prevent blur and quality loss
Automatic resizing cannot create reliable detail from a tiny or heavily compressed source.
Before export:
- start from the highest-quality permitted source;
- avoid enlarging a small logo or screenshot far beyond its original size;
- use PNG for sharp text, icons, and flat graphics;
- consider JPG for photo-heavy designs when file size matters;
- open the downloaded file at 100%;
- upload a private test or preview when the platform allows it.
Canva's current guidance notes that small designs, low-resolution uploads, file choice, and social-platform compression can all contribute to blur. A larger export is not a cure for a poor source image.
Final three-format check
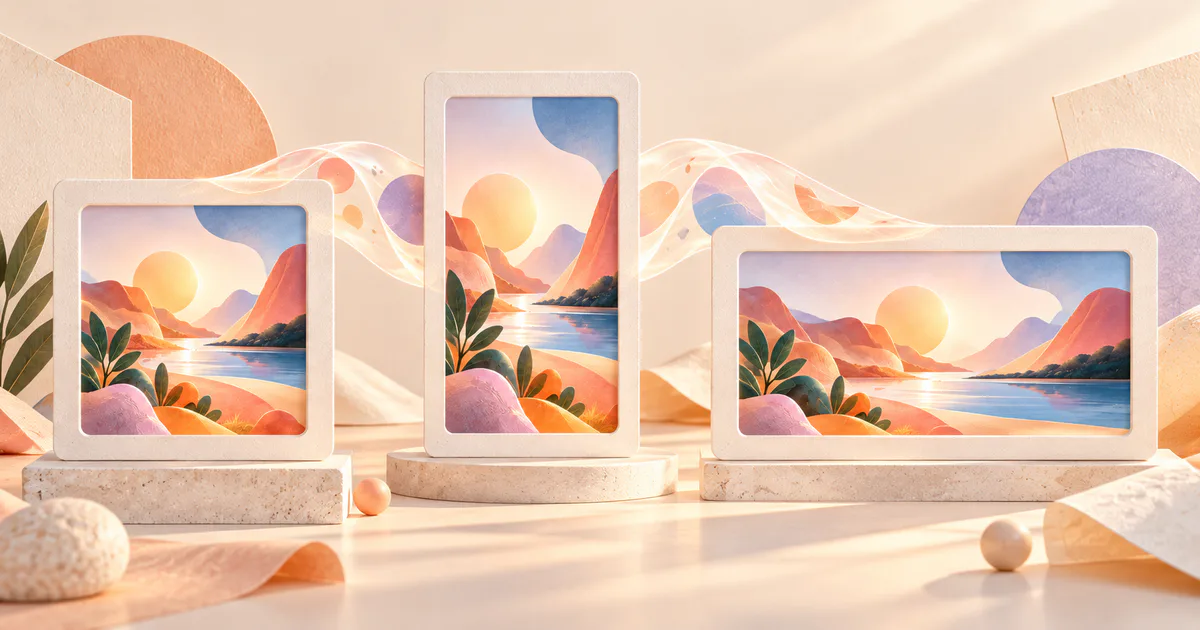
Place the square, portrait, and wide versions next to one another and verify:
- the same message appears in all three;
- names, dates, prices, and calls to action match;
- no face, product, or logo is cut off;
- the reading order remains clear;
- generated extensions do not introduce strange objects or text;
- every version is saved under the correct filename.
If one format needs a different composition, that is normal. Consistency means the same identity and message, not identical coordinates.
The bottom line
AI-assisted resize is a starting point, not a batch-publishing decision. Keep the master editable, create one copy per placement, and review every crop. When a design is too crowded to adapt, simplify it rather than making everything smaller.
If you are still building the original, start with How to Create a Social Media Graphic With AI. If you need extra background rather than a crop, the prompt structure in How to Generate an Image From Text will help.
Sources and verification
Information last verified: October 12, 2026.
- Canva: Resize designs and size limits
- Canva: Resize and crop elements precisely
- Canva: Downloaded design looks blurry
- OpenAI: Images in ChatGPT
Free printable resource
AI Visual Project Brief
Use the practical version while you work. It is a selectable-text U.S. Letter PDF with no email gate.
Public H5W PDF with selectable text and permanent source links.
Keep going
Choose your next step
Return to Create Visuals for the full collection, or continue with a closely related guide.